How to Set Up WordPress on AWS EC2 with Bitnami’s AMI
Amazon Web Services (AWS) is all the rage in terms of high-performance web hosting these days. If you peruse through the page source (or dig the hostname and ip) of just about any high traffic website or web-based service then you may have noticed that many companies rely on AWS for their hosting needs. For the uninitiated, setting up WordPress on AWS may sound technically intimidating and a complicated process but it doesn’t have to be. In fact, this WordPress install is running on AWS!
However, there are some important things to keep in mind. Setting up a Linux instance on AWS is like having your own Linux server, which means that apart from perhaps setting up VNC, server administration is done at the command line level via SSH. You or someone in your organization should have a good understanding of Linux or Unix system administration if you plan on taking this DIY approach as well as know how to properly patch and upgrade Apache, MySQL and PHP.
If you’re used to managing your WordPress backend through cPanel then this route is most likely NOT for you. In fact, I recommend (from past and present experience) companies such as WP Engine or SiteGround for managed WordPress hosting.
With that said, proceed with caution and at your own risk.
1. Sign up for a free tier account on AWS
http://aws.amazon.com/free/
Complete your account info

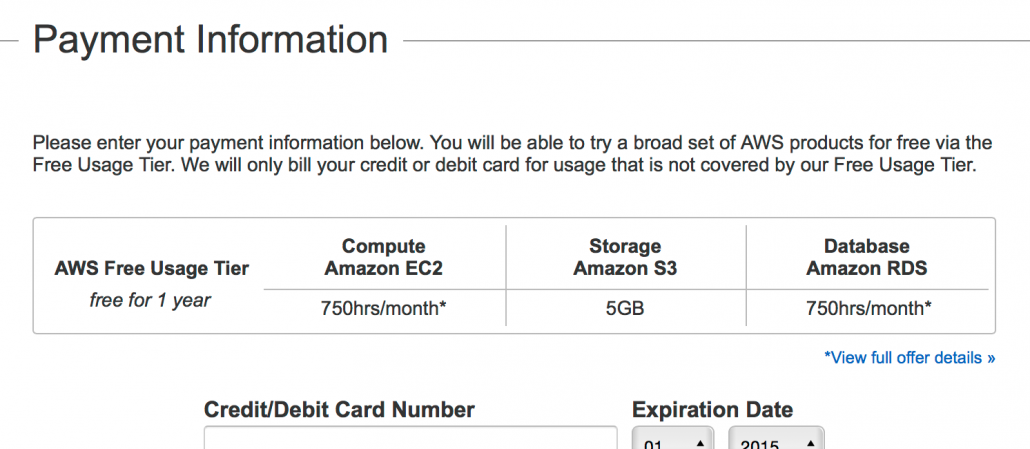
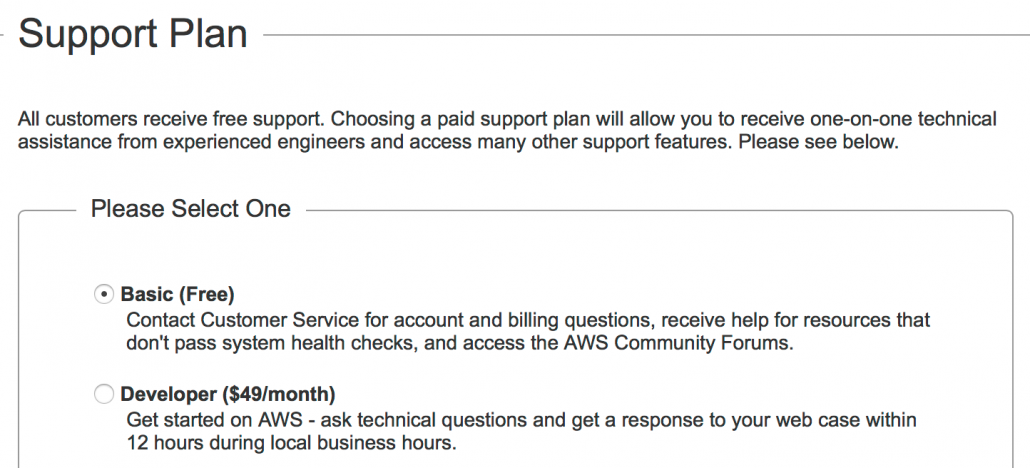

By now, you should receive a sign up confirmation email from Amazon instructing you to sign back into your newly created AWS account.
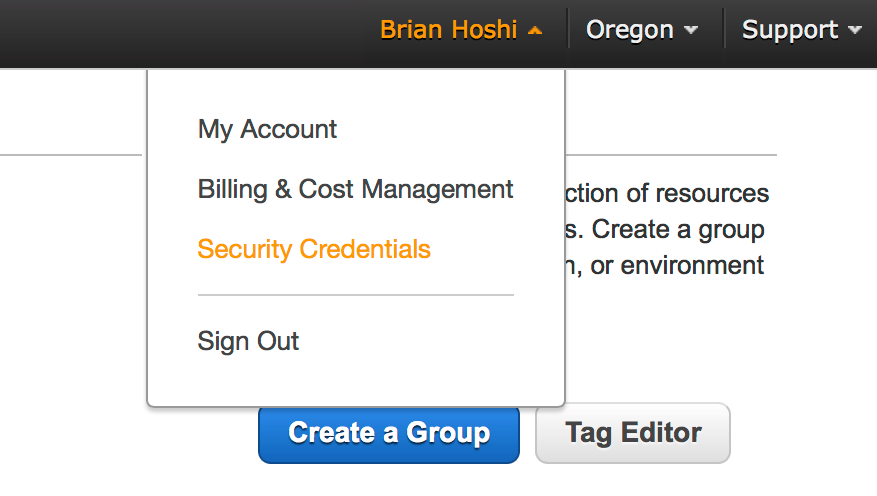
2. Login into your account and set up your Security Credentials.
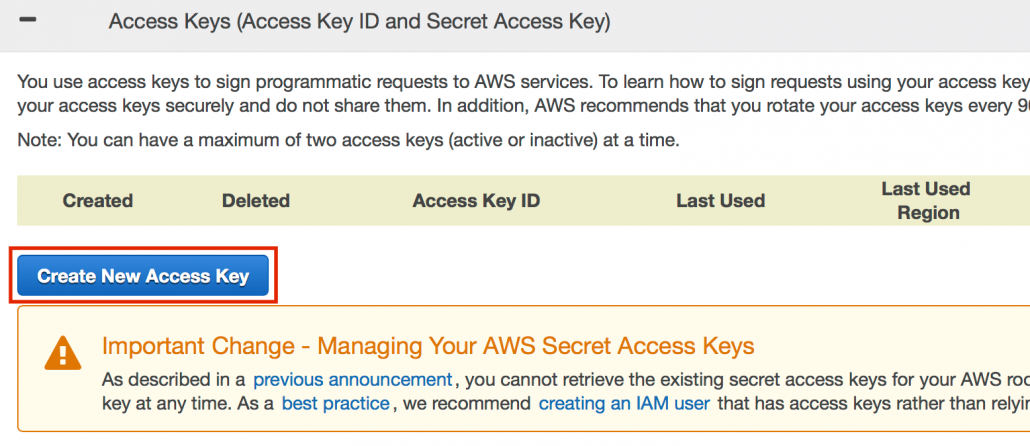
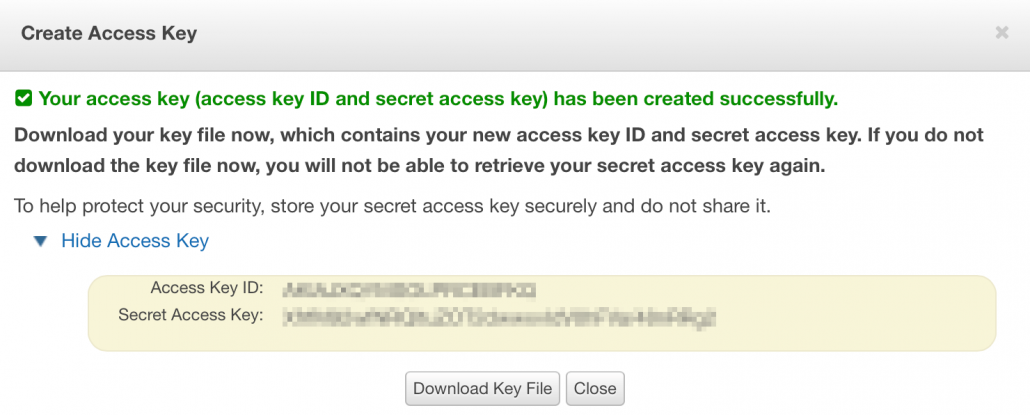
Click “Create New Access Key” button.
Download the “Key File” for safe keeping. Do not share this file.
3. Set up an Instance on AWS.
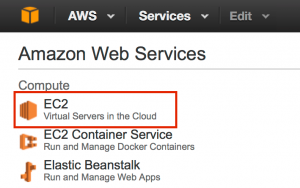
Click on “EC2” under the Compute category under Services.
Click “Launch Instance” button.

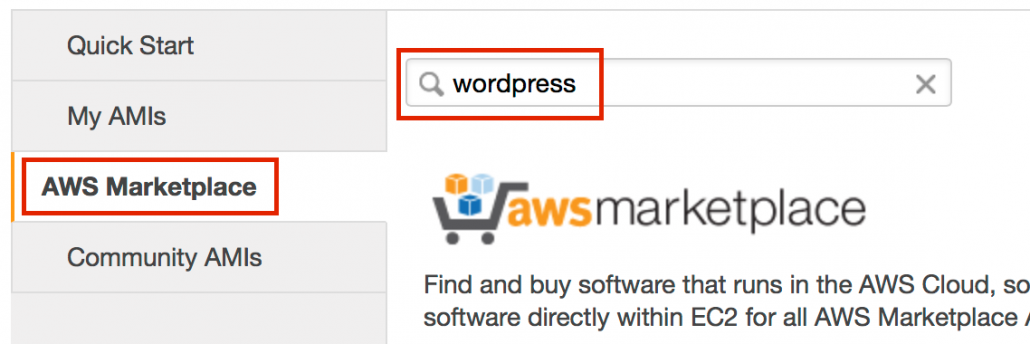
Click on the “AWS Marketplace” tab and search for “wordpress”.
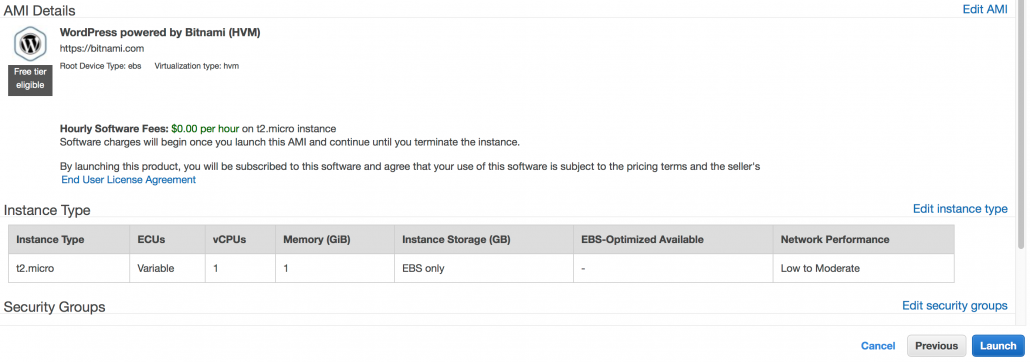
Select the HVM (Hardware Virtual Machine) version of Bitnami’s AMI (Amazon Machine Image). This creates a t2.micro Instance which is claimed to have better than a t1.micro Instance.

Confirm that you will use the t2.micro Instance which qualifies for the Free Tier. Click the “Review and Launch” button. No further configuration should be needed.

Launch the Instance.
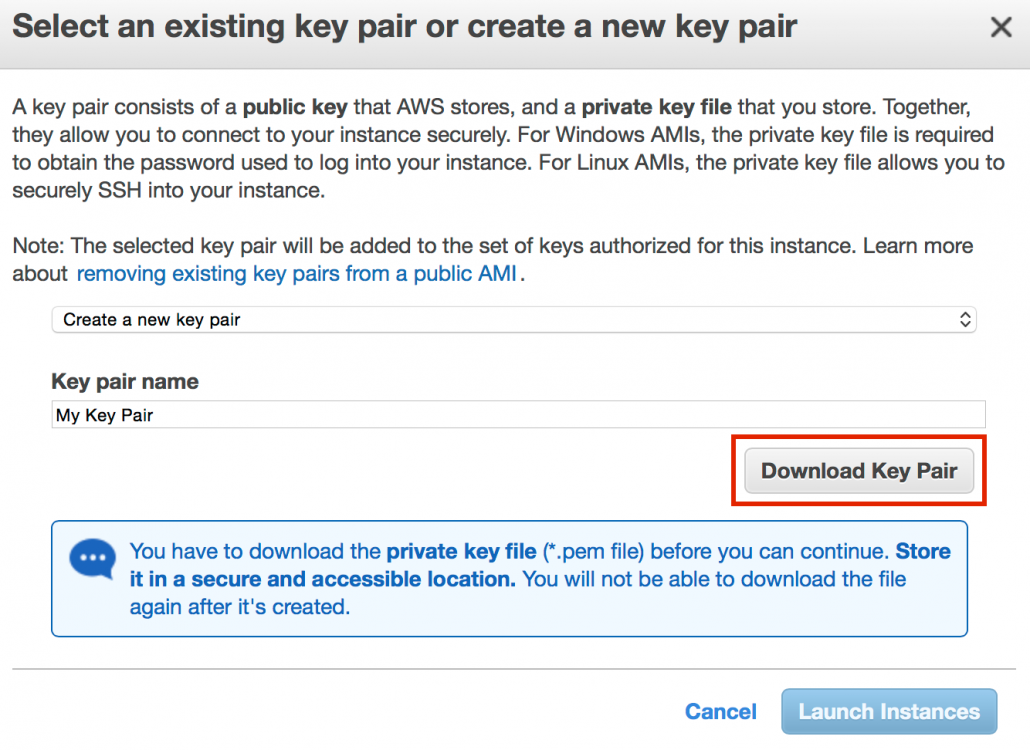
Create and download a new Key Pair. Do not share this file. You will need this to SSH and SFTP into your Instance. Next, click the “Launch” button to start the Instance.
Wait for the Instance to start. It should only take a few of minutes.
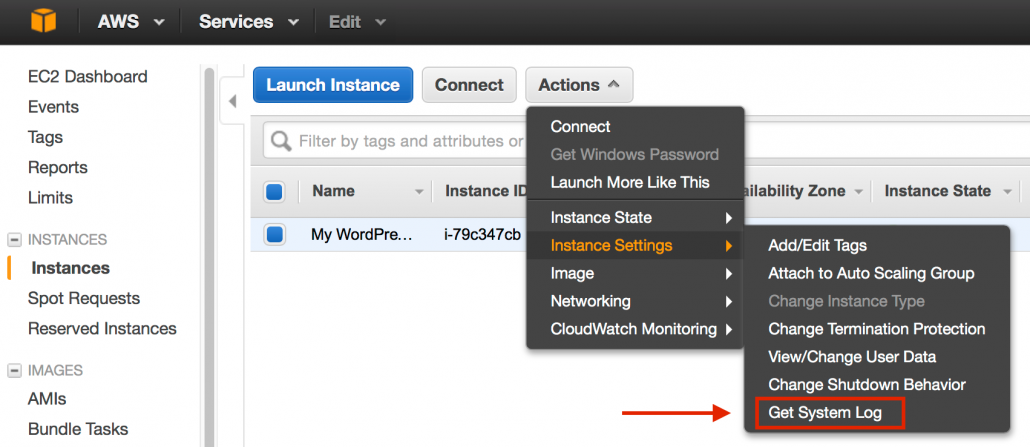
Click on Actions > Instance Settings > Get System Log. Your initial admin password for WordPress can be found in the log.
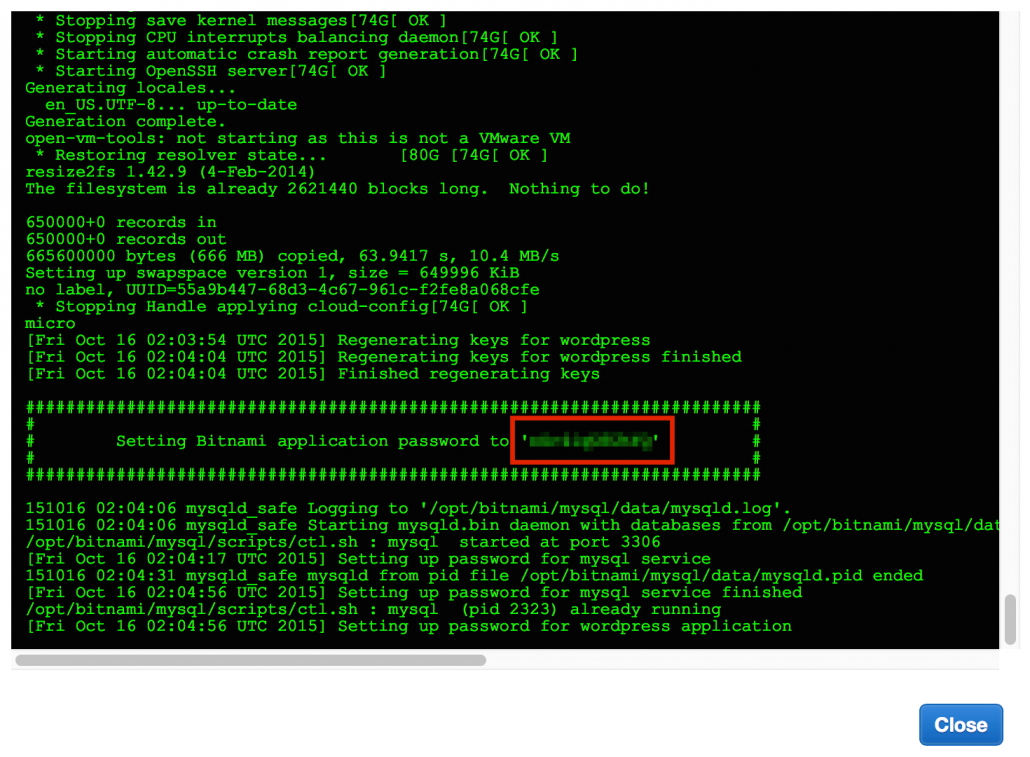
Copy and/or write down the password.
Copy and paste the Public DNS into a web browser to see your WordPress install. Add “https://” to access your site with a self-signed certificate for an additional layer of security when you login with your password. You will likely get a warning message that the certificate can not be verified with a root CA. This is normal.

Login into your admin account by typing “https://your_instance.compute.amazonaws.com/wp-admin” in a browser.
Username: user (default admin login)
Password: (password from System Log)
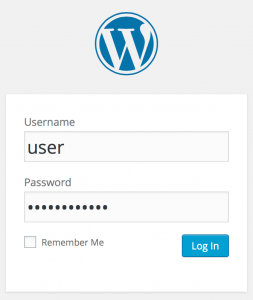
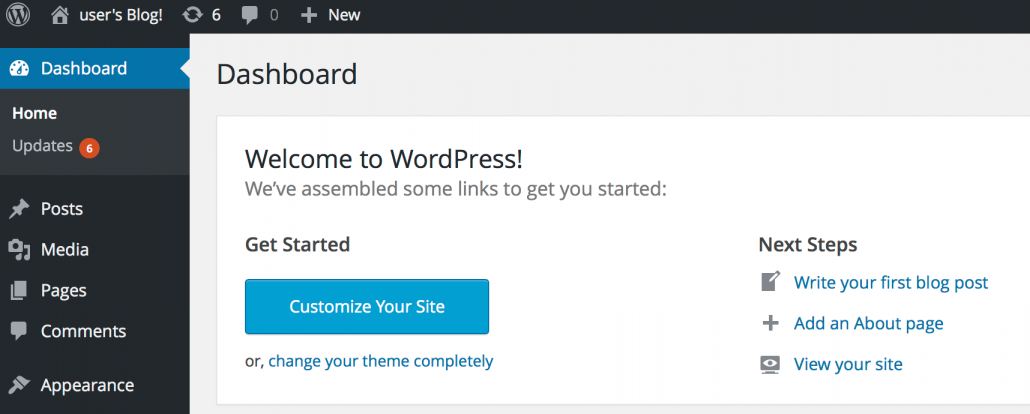
Congratulations! You should be logged into your WordPress installation. From here, your WordPress installation will be like any other WordPress installation.
Notes
- You will notice that there is “page corner” link to Bitnami’s documentation. The instructions on how to disable this can be found in their documentation through SSH.
- You may want to further optimize the Bitnami image. I found the EC2 Instance to be fast enough for my own purposes. Here’s a deeper dive into Bitnami’s “How to optimize a default Bitnami WordPress install” wiki.

